
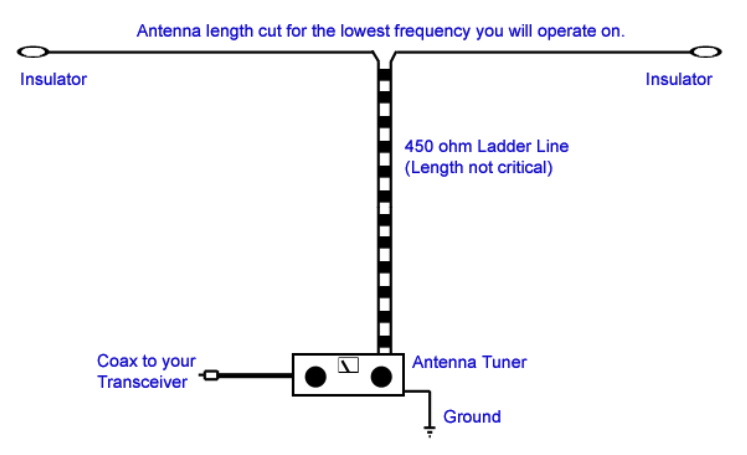
Portable, multi-band antenna design is adopted from AI4JI’s presentation, which may be found at the followin link. The diagram depicts a Center Feed Dipole, which maybe tuned across all ham-bands from 160 to 10m bands by an antenna tuner. I chose this design, because of my preference for low loss exhibited by ladder feed line and the installation convenience due to its simplicity by not having to trim its size once installed.
This antenna perfectly suits my purpose to operate on all bands from my father’s vineyard, where there are no restrictive covenants to erect or string up an antenna. My plan was to erect it only temporarily on occasions while spending time at the vineyard. However, on other occasions I want to take it to hiking trips for SOTA activation. I needed to adjust the antenna such that during SOTA operation its lowest band is the 40m-band, but it is extendable for 80 and 160m otherwise, when operating from the vineyard, where the space is given for its span. The challenge was to modify the design to make it easily expandable for both requirements. I built an antenna for the 40m-band lowest band for my SOTA activations with dimensions 2 times 10.2 meters (33.46 foot). Use the formula 142.7 / FRQ [MHz] = total antenna length (lambda / 2) to calculate the lengths. I also prepared easily attachable extension wires for both sides with expanding the antenna for 80 respectively 160m. See the table for the calculated lengths:
|
Lowest Band |
One Side of Dipole m/foot |
Total Length of Dipole m/foot |
Extension to the Next Band |
|
160m |
39.7m / 130.2 ft |
79.4m / 260.4 ft |
0 |
|
80m |
20.3m / 66.6 ft |
40.6m / 133.2 ft |
2 x 19.4m / 63.6 ft |
|
40m |
10.2m / 33.4 ft |
20.4m / 66.9 ft |
2 x 10.1m / 33.1 ft |
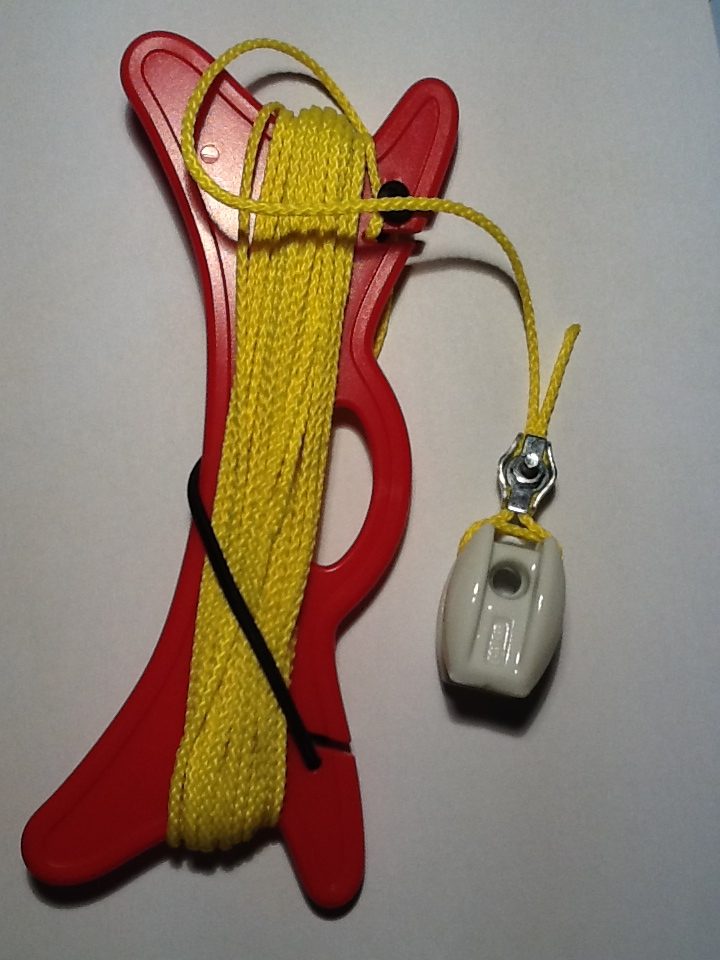
The actual antenna’s physical construction is fairly standard. I used standard ceramic end insulators (one at each end), with 10m-braided nylon rope and small wire rope clips to attach the wire and the rope to the insulator. For simplicity, I picked speaker wire with 1.5mm square diameter stranded copper. It is suitable for temporary installations, but I would not use it for permanent construction, of course, as the copper wire will rip and the plastic coating will not withstand weather conditions (ultraviolet rays will harden it and crackle). Also metal parts in permanent installations will rust unless coated properly. Keep in mind this is a portable antenna for temporary installations.

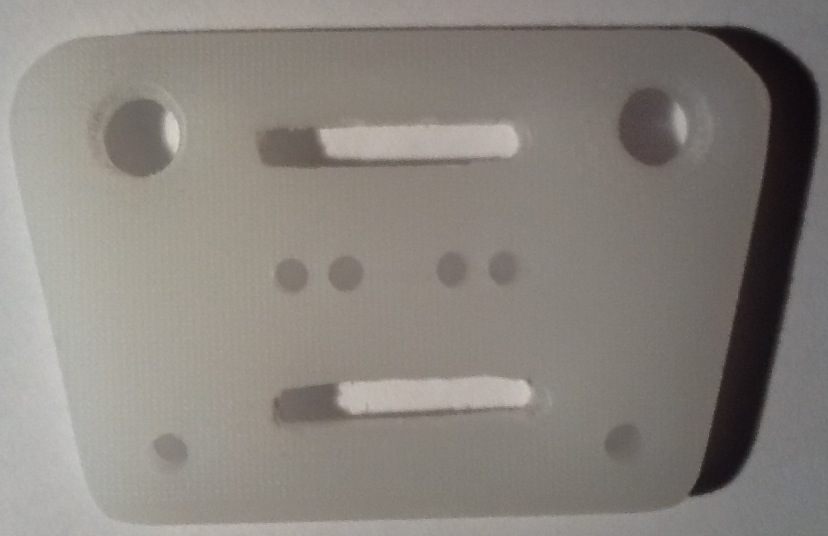
Home made center insulator
The center insulator is made of a household cutting board, which is made of high-density polyethylene (HDPE). It is very easy to work with and it does not add much weight to the installation. This is the final assembly of the center insulator installation:
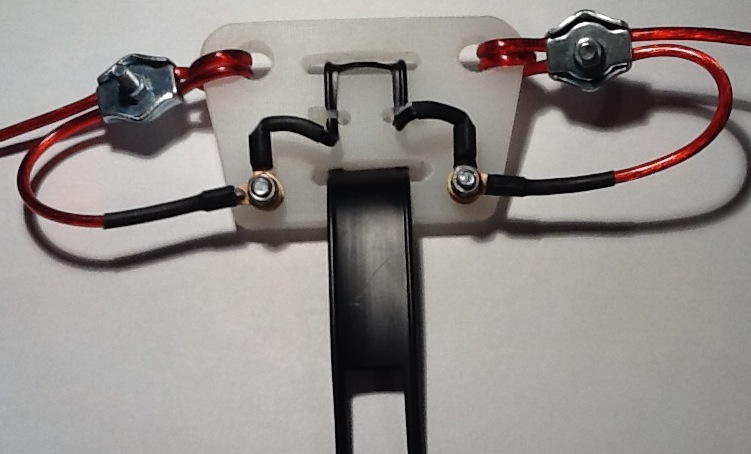
The following picture depicts the non-standard part of the antenna assembly, the practical implementation of its extendability. The original idea came from Tibor OK2GM, who gave me the idea of using carabiners, metal loops with spring loaded gates and also stringing antenna wires together using of connector lugs. This modification of the antenna makes it very easy to disconnect or to open up both sides of the dipole and insert a section to extend it to 160m. See the construction of the extention in the following picture.

If the connector lugs are unplugged and the carabiner is openned, the antenna wire may be interrupted and an extra wire may be attached to extend the lenght of the antenna wire.
Best 73!
HA5CLF István